
Create
This page displays all the available DXF files.
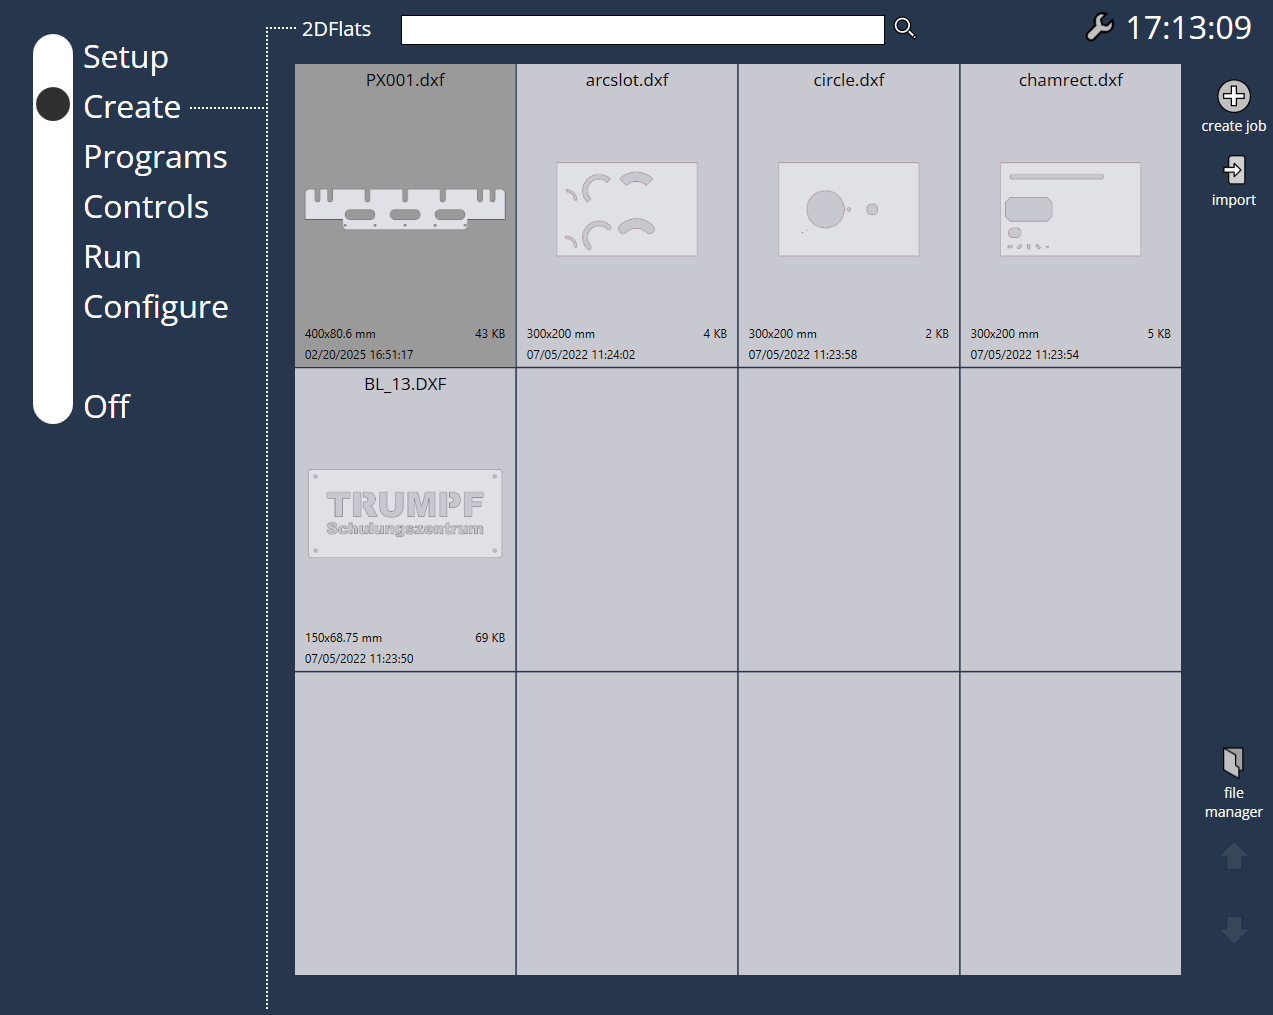
Create Job
The user needs to select any of the DXF files or multiple files and then select the create job button. After a Job is created, you will be presented with a tab interface as shown in the screenshot below. There are four tabs in this window as follow:
-
Parts tab
-
Configuration tab
-
Sheets tab
-
Layouts tab
Parts tab
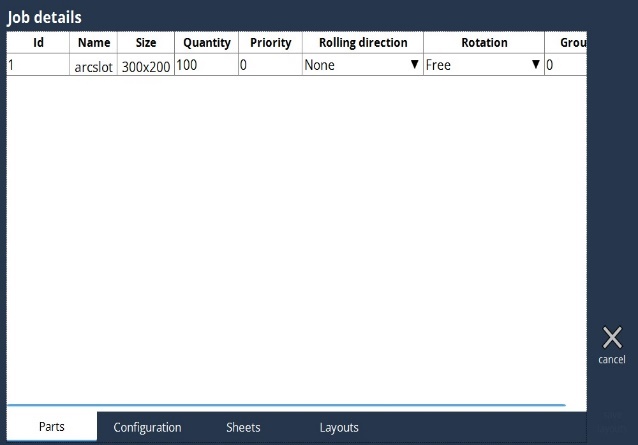
In this, the user can add as many parts as they want. They need to select all the dxf files and select create job to add all the parts. In the parts tab the user can change max quantity, set priority, grain direction, part rotation and the group. In this tab you will manage the list of the parts (and their required quantities) that must be nested.
Configuration tab
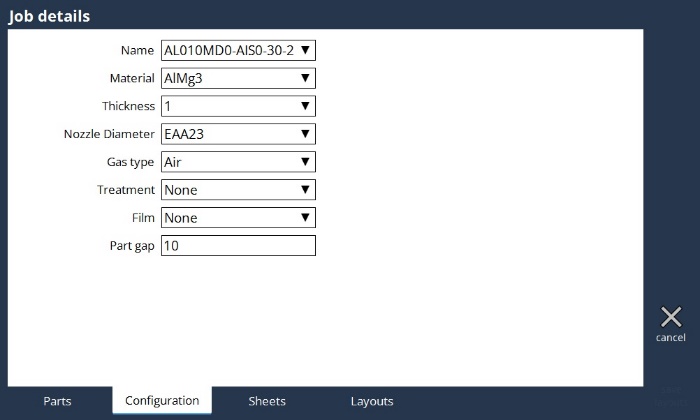
Allows you to modify the parameters such as material, thickness, film, treatment and part gap.
Sheets tab

This is the tab where you will manage the list of sheets to be considered for nesting. The user can add sheets with different sizes. Increase or decrease the quantity. The margin can also be changed.
Use TwinLine if you need efficient processing of your parts.
Layouts tab
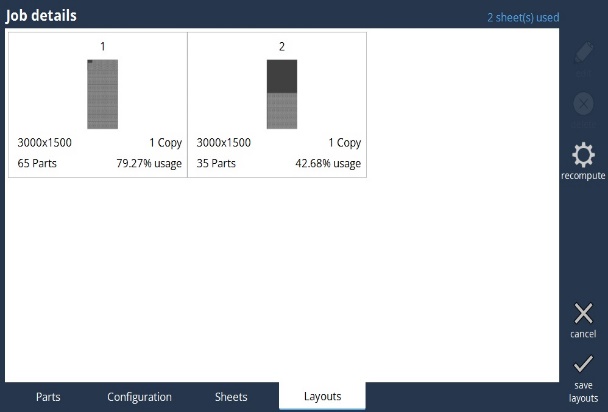
When you select the Layout tab, Vulcan Control will automatically start the nesting computation, if there are no layouts. Once the computation is done, it will present the computed layouts as a list of thumbnails. You can edit any of these layouts in the Flux main window by clicking on the thumbnail. You get a full-fledged layout editor where you can modify the position/orientation of parts, edit tooling, edit sequence etc.
Press the Recompute button to nest the remaining (un-nested parts). If you wish to re-nest from start, delete existing layouts and then press this button.
Selecting the edit button will open the edit page for layout which is explained in detail in section 3.3 and Selecting the cancel button will not save the changes done here.
The user can save the layouts using the save layouts. Enter the name and click Ok to save the layouts. The saved layout will be available in programs page.